
My next mission on the keyboard front was to build a cheap kit sourced through Aliexpress. Reason for Aliexpress? Well Amazon Canada does not have a lot of options to building a keyboard besides really established names that I would prefer to buy from directly like Keychron and Epomaker. In this case I was looking for something off the beaten path that I hadn’t seen anywhere else.
That’s when I stumbled upon the KBDIY TH680 barebones mechanical keyboard kit. It checked all the boxes including RGB, 65% format, hotswap compatible with 3 and 5 pin switches and it had a knob. Again I don’t really need a knob but many people consider a knob a premium feature nowadays.
The TM680 is available in single USB mode or tri mode including wireless with a dongle, Bluetooth and USB. I went for the cheaper USB only mode as I generally don’t use the wireless functions of my keyboards (though they are nice to have in a pinch).
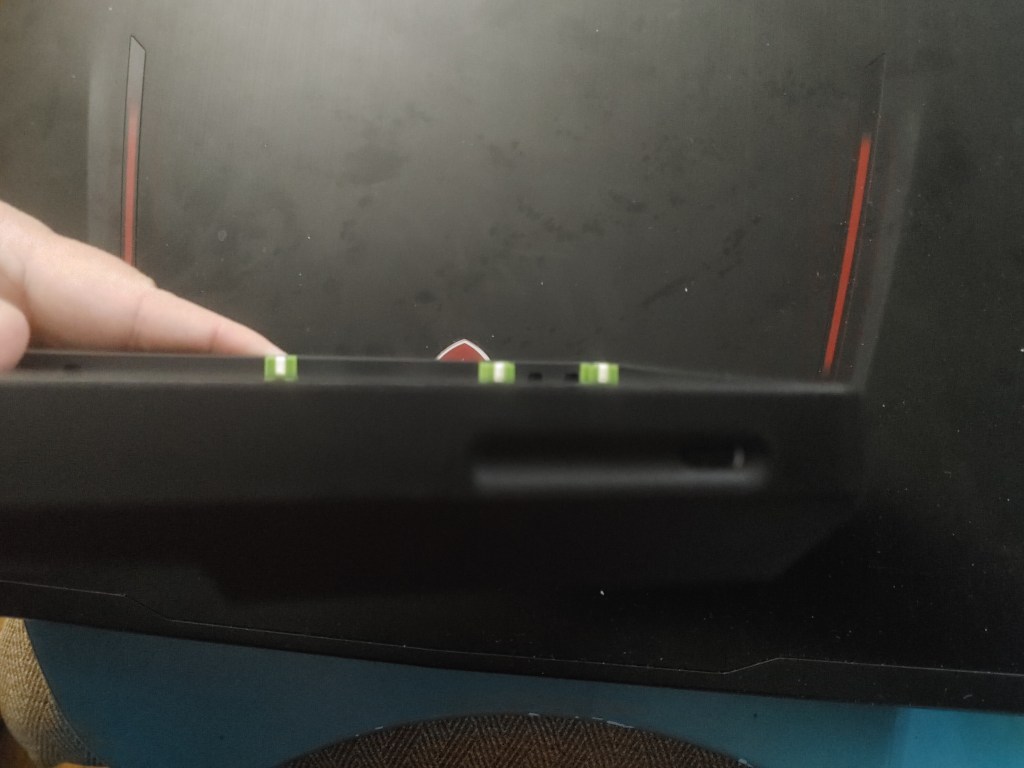
The body is a flat black but different from other keyboards there are RGB features on the sides and lower front. These can be assigned separate from the RGB key backlighting which is kind of neat. On the bottom there are four rubber feet but no risers to allow for more tilt. There is also a big “HOMOO” logo that I assume is the OEM for the keyboard.

The hot swap PCB seems to be made pretty well though some may be disappointed that the plate on top is white along with the black keyboard case. I don’t see it as a problem since without that white PCD the RGB lighting under the keys would be very dim. In fact the RGB lighting with the white PCB is still pretty dim. It’s there but not mind-blowing in it’s brightness. The good news is there is no software required to change the RGB settings.
I have not taken the case apart but other reviewers say that there is some foam in the case but if there is there can’t be much. This keyboard is very hollow sounding. I never understood until now how that can be distracting, but it is. I guess I truly am a keyboard snob now. You can buy a rubber gasket to go in the keyboard that may may help things but on the sales page for this item on Aliexpress, KBDIY clearly states if you open the keyboard you void your warranty.
I never expected any warranty service for anything from Aliexpress anyway so I may order the gasket and open it up at a later time.
Of course there are other pieces to a keyboard kit to consider including the key switches and the key caps.

I picked up the switches from Drop. While Drop’s prices are absurd for most of their keyboard DIY stuff they do sometimes have decent deals on switches. In this case I picked up some Candy Jade Green linear mechanical switches in the 62g flavour. I chose these because they were linear but not red linears that are all over the place. The Candy Jade’s also look really nice even if they would be hiding under the keys when finished. They also may be a bit responsible for the lower light output on this keyboard since they are tinted so dark.
The Jade Green’s are perplexing to me. I really like how they type but they feel really light for 62g. I don’t mind a light switch but that combined with a very hollow sounding board, it makes the experience feel very cheap. Again that hollowness isn’t the switches fault. It’s more a side effect of a keyboard with very little insulation inside and the keycaps.
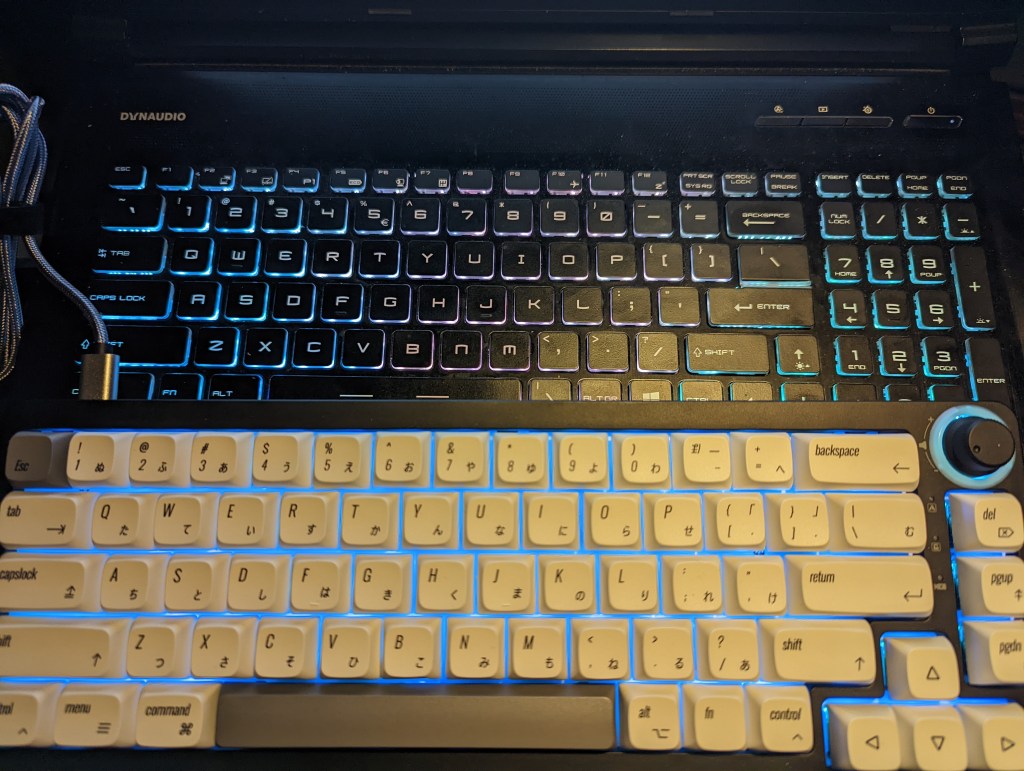
The keycaps I chose are a mechanical take on a mac based legend with English and Japanese legends. There are also some optional keys included that have Mac logos on them that they obviously didn’t have the license for as they are fuzzed out on the product listing. They keycaps are thick dye-sub PBT jobs that feel very good to type with though since they are in an XDA profile they can take some getting used to while typing. The advantage to using keycaps with an XDA profile is you can put any 1U cap anywhere on the board and it will look right since all the keys have the same profile to them. That is a nice thing when the keys on your keyboard don’t necessarily match a standard ANSI layout like the TM680.
I mentioned earlier that there is no software required to change the RGB settings on the TM680. This is good since, even though KBDIY shows screenshots of their software on their product page, there’s no link to it anywhere and no mention of it in any documentation included with the keyboard. That’s really a shame but at the same time, if the software is poorly translated or not very good in general, I’d rather keep it to themselves.
Speaking briefly about the knob, the RGB ring around it sometimes syncs with the top keyboard RGB and sometimes syncs with the RGB on the bottom. I haven’t quite figured out it’s deal yet. The knob does function as a volume up and down button but preassign down the mute function does not work. I expect the software could fix this as it allows you to assign keyboard functions.
Overall for a budget first build I am satisfied. I knew going in that spending more would get me a better keyboard in the end but I wanted to experiment more before I really plunk money down to build and expensive rig. I would also recommend that if you are interested in a version of this keyboard yourself, Epomaker now sells a fully built version of this that I am sure will come with better support.
But support was not the reason I bought this keyboard. I wanted to build a keyboard kit and see what I’d end up with. The results were expectedly underwhelming. I like the keycaps and the switches but the board itself, I think, needs some foam inside or something to cut down on the hollow sound it produces.
